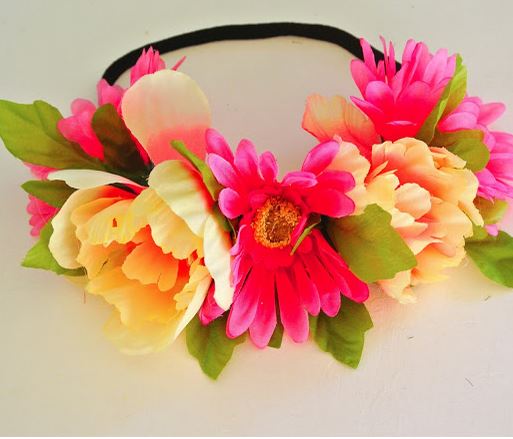
This summer has been all about florals, and headbands are no exception! They are really cute when you’re going for a bohemian look, especially for music festivals. Plus they seem to be a favorite accessory of Lana Del Rey, a great singer and style icon. Here’s an inventive DIY for making your own headband instead of shelling out the (outrageous) $100 or so to buy one.
Materials:
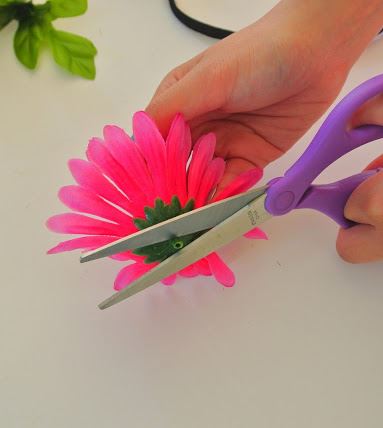
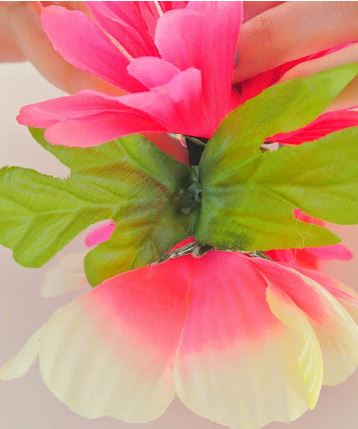
First you’ll want to remove the flowers from their stems. This shouldn’t be too hard, you can either pull them off, or use scissors if that isn’t possible. If you want to add the leaves to your headband, also remove them. You want to leave some of the stem on the flower, you’ll use it later, but try to make it as short as possible, so the flower will be as close to the headband as it can be.
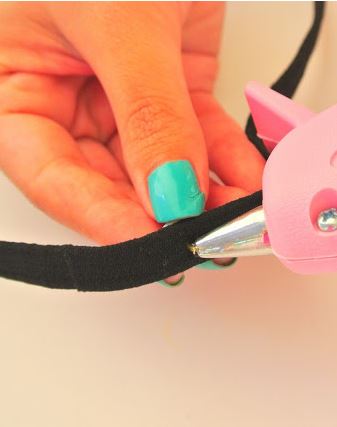
A good idea would be to envision where you want the flowers to be before you start gluing them on, so you don’t think you like what you’re doing and then realize that the finished version is nothing like you had pictured. Once you know where you want them, stick your thumbtacks into the elastic headband where the flowers will be, with the point sticking out. This is why you need flat thumbtacks, so there won’t be anything poking into your head.
Put enough glue that the thumbtack is covered with it, but not so much that it will ooze out when you put the flower on and burn you.
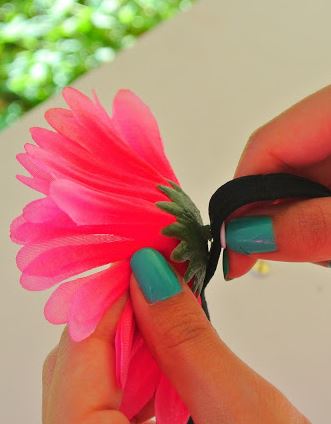
Position the flower so that the hole in the stem is over the thumbtack point, and press the flower until it reaches the headband. Hold it for a while, 15 seconds or so, until you feel that it is secure.
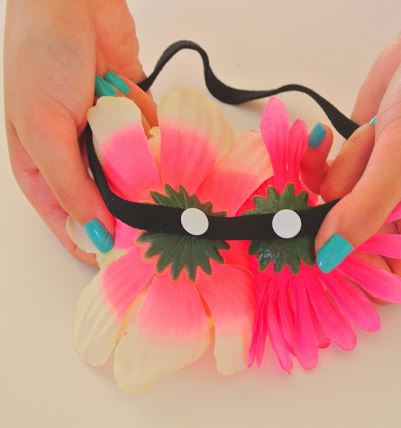
Keep repeating this step until you’ve added all the flowers you want. You can put them evenly spaced along the headband, or make it a little messier. If you are adding leaves, keep space between the flowers so you have a place to put them.
If you are adding the leaves, follow the same steps. You can put the leaves wherever you’d like, evenly distributed between flowers or having a more random approach.
And now you have your own floral headband, for much cheaper than actually buying one. Of course there are other ways of making these, by just gluing the flowers on, but I think the thumbtacks are a good idea to help secure the flowers and make sure they won’t move or fall off. Enjoy!
Pictures and inspiration from here.
If you’re looking for a different kind of floral headband that isn’t only flowers, here’s another great DIY, for a braided leather and flowers headband.
Follow our blog at Bloglovin!
Denim is a time-honored staple in any wardrobe. But with new variations of classic jeans constantly coming into the style…
"Do you think he’s cheating on you?" This sentence echoed in my mind as my world fell apart and I…
Choosing your first dorm to live in as a college student is one of the most exciting parts about preparing…
Whether you’re a transplant or have lived your entire life in Raleigh, date nights can seem stale and insignificant in…
If you're a student whose about to attend Kutztown University in Pennsylvania, then this is everything you need to know…
Do you need some serious coverage but refuse to break the bank? No worries. Thankfully, drugstore brands have developed over…